How to Display Front and Back of Greeting Card
Tips and Advice
Set up your artwork for Greeting Card printing
Ready to print your own Greeting Cards? Whether it's for a birthday, anniversary or other special event, now's the perfect time to let your creativity flow.
While setting your cards up for print may seem a little daunting at first, we're here to help. Just follow these simple steps and your designs will be hitting the presses in no time.
Getting your artwork ready
First things first, let's get your designs artwork-ready! All Greeting Cards have four printable sides, so your artwork should either be two separate pages divided down the middle (this is where the fold will be!) or as four separate images. These will make up the outer and inner sides of your card.
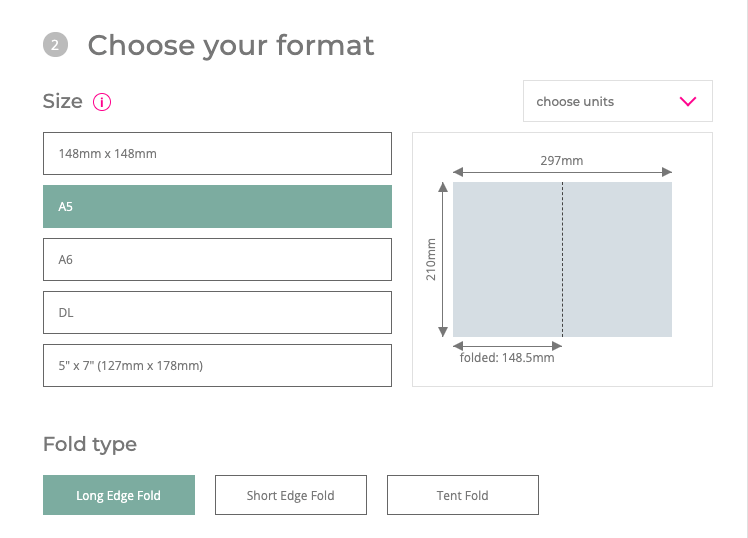
First, choose the size of Greeting Card you require. At Printed.com, we print Greeting Cards in five different sizes:
- 148mm x 148mm (Square)
- A5 (148mm x 210mm)
- A6 (105mm x 148mm)
- DL (100mm x 210mm)
- 5″ x 7″
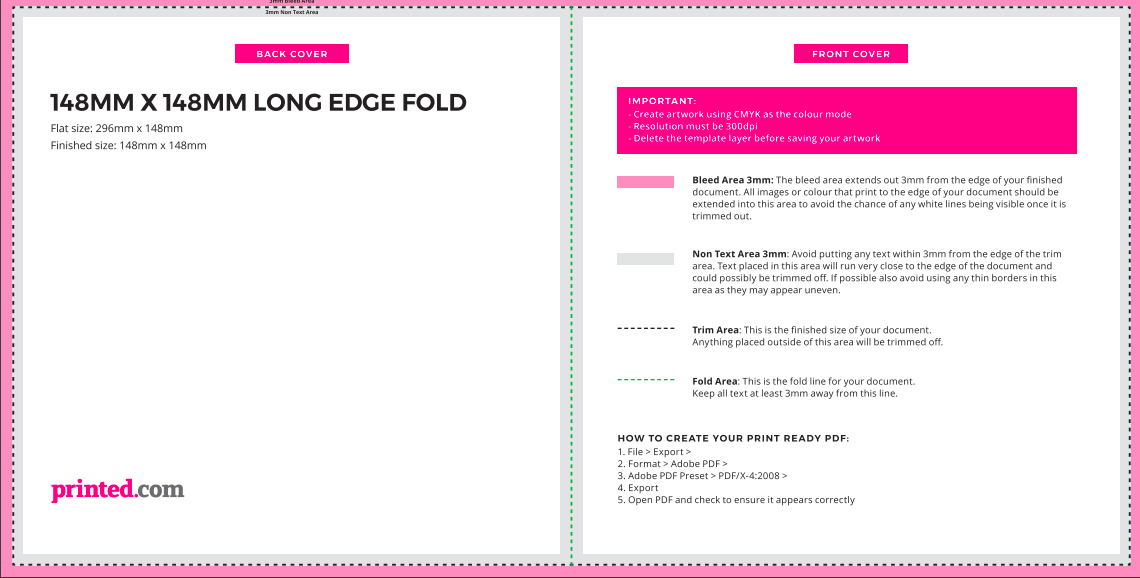
If you're uploading your artwork as two-page spreads, it should be double the length i.e if your card is 148mm x 148mm then the full width of this size when it's open is 296mm (2 x 148mm).
If you choose single pages, make sure each one is the correct size i.e all being 148mm so our team can stitch them together for you.
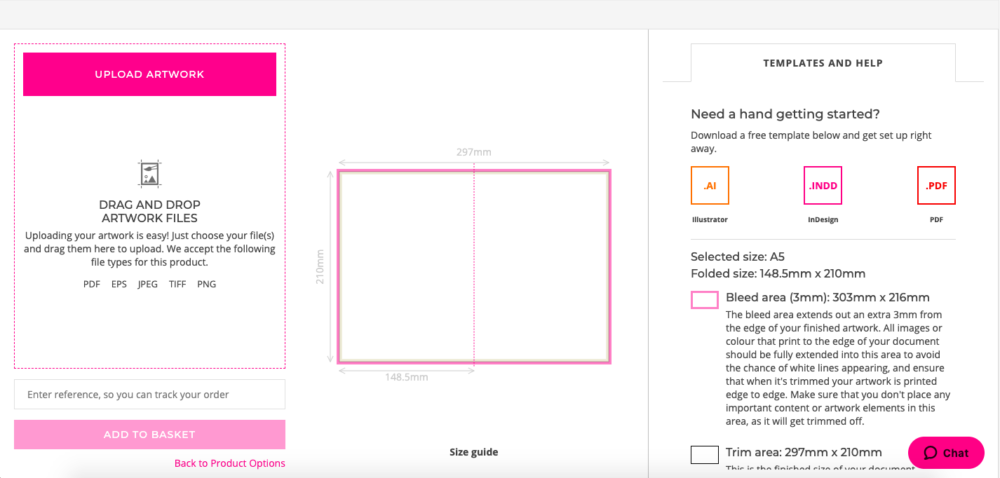
Top Tip: Why not use one of our free Greeting Card templates to quickly get started. Each has four clearly labelled sides, folds and trim lines and is available in every size above.
Explore our free templates
Completing your artwork checklist
To make sure your cards hit the presses without delay, don't forget to check the following when you're finished setting up:
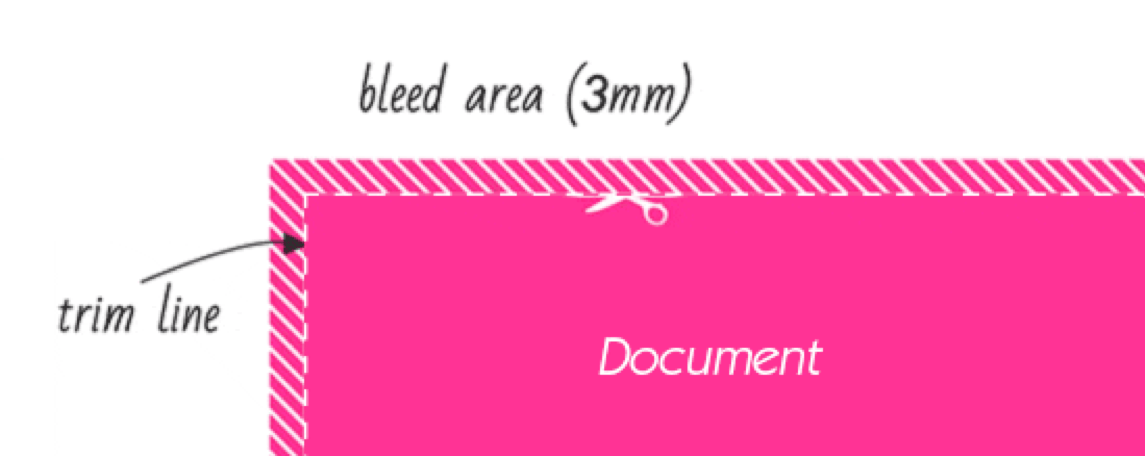
- Have I added bleed? The bleed area should extend 3mm from the edge of your finished image. Your design should then be extended into this area to avoid any white lines after printing. If you need help setting it up, check out our simple video tutorial here.
- Is my text too close to the edge? Make sure to keep any text at least 3mm away from the edge of your design as well as the fold line to avoid it being cut off.
- Have I removed all cutter guides and templates?You don't want to leave these on or they'll get printed on your final product, so make sure do delete them before exporting your artwork.
- Have I double checked my exported design? All Greeting Card artwork should be exported as a PDF file for upload. We have a simple video tutorial for that too!
Setting up your sides in order
When creating your Greeting Card it's important that your pages are set up in the proper order so they look correct when folded.
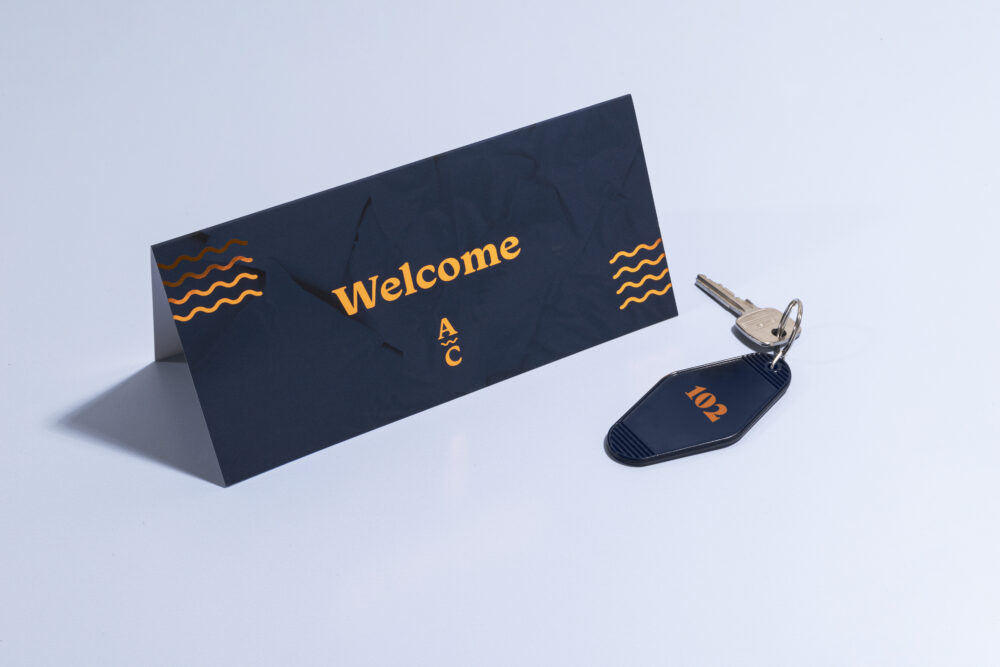
Tent Fold Greeting Card
Short and long edge folds
For cards that fold along the short or long edge, please set up your pages in the following order:
- PAGE 1: Back Cover, Front Cover
- PAGE 2: Inside Front, Inside Back
- Or as four separate pages in that order
Each will be folded directly down the middle, so make sure each side is even.
Tent folds
Tent fold cards require a couple of extra steps to make sure none of your designs end up wonky after printing.
Set up your pages in this order:
- PAGE 1: Front Cover, Back Cover
- PAGE 2: Inside Front, Inside Back
- Or as four separate pages in that order
For this type of fold, you must make sure that your front cover image is upside down. It might look a little strange at first but means it will be the right way up when it's folded.
Confused? Don't worry. Our tent fold templates have each section clearly labelled.
Once you've set everything up, it's ready to hit the press. However, if you're adding any special finishes to your final designs, there are a couple of extra steps to cross off your list first.
Foiled Greeting Cards
When setting up for White Ink or Foiling, you need to export a couple more versions of your artwork. Check out the videos below and you'll be ready in no time!
If you're working on a sparkly range, then no doubt you will be using Digital Foiling in your design. Below we've created a handy video to show you how to set this up for print. We also have an additional video for White Ink printing available to view here.
Shop Foiling
Version printing
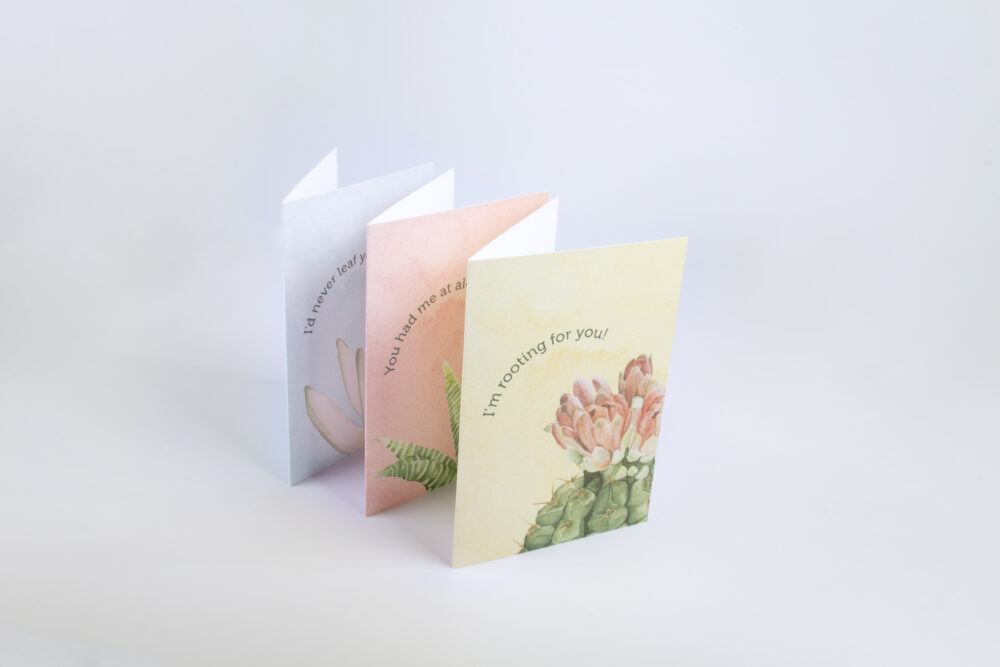
Got more than one Greeting Card design that you want to share? Save time and money with our version printing service!
Created so you can easily print all your ideas in one go, you can now add up to 100 different designs to one order. It will require setting up your order slightly differently so check out our full guide below so you can bring all your card designs to life.
Discover Version Printing
Choosing your Greeting Card options
Once your designs are artwork-ready, it's time to choose your Greeting Card options in our handy wizard. Once you click 'ORDER NOW' on our Greeting Card page, you'll be presented with a variety of different product options. While it's entirely up to you what you pick, we're going to give you a quick rundown of the ordering process.
Firstly, choose the type of card you'll be printing whether that's Standard, Foiled or Laser Cut and make sure your artwork is properly set up.
Then it's time to choose your size. For whichever you pick, double-check that your artwork has been set up to match it to avoid any issues when printing. Don't forget to select your fold type as well!
Now select which sides of your card you'll be printing on. One side means that you only have designs on the front and reverse of your card whereas Both sides means that you have artwork on one or both of the inner sides as well.
Then select how many cards you want to print.
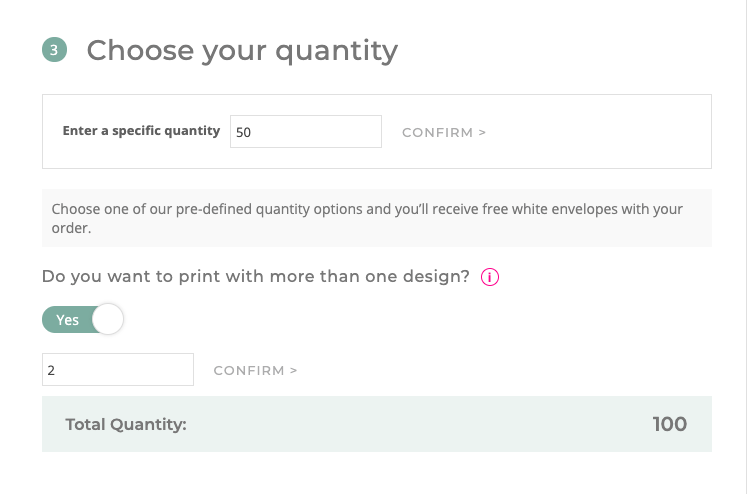
Top tip: If you're version printing, make sure to double-check your numbers as both the total number of cards and the number of each design will be displayed.
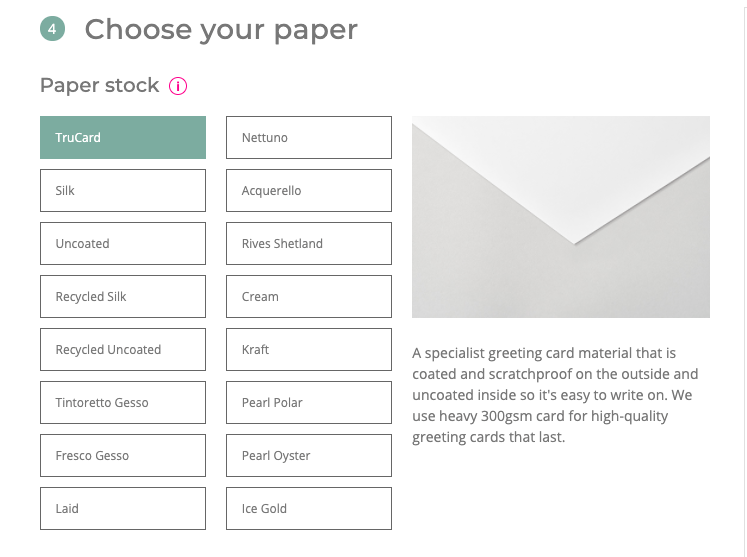
Now it's time to select a paper! At Printed.com, we offer 16 different paper types for standard Greeting Card printing so we've got the option for you. Whether you need some extra shimmer with a luxury stock like Pearl Oyster, want something thinner and tactile like Rives Shetland or something classic and easy to write on like TruCard, you'll find the right fit. Check out our full paper range in more detail here.
And lastly, it's time to sort out your finishing touches. Choose whether you want your designs laminated and if so, which kind of lamination. Bare cards let you have a good feel of the paper, but will limit some of your other options as some stocks MUST be laminated in order to have round corners. We have a choice of four lamination options, including anti-bacterial, each adding a unique finish to your designs.
And once you've decided whether or not you want to add Envelopes or cellophane bags, it's time to upload your artwork! Make sure to check all your product options in the sidebar.
Top tip: We offer a personalisation service too. It requires a pdf file of your artwork, along with a .csv spreadsheet of the names. Check out our video guide here to set yourself up.
Once you've continued, simply drag and drop your artwork or upload it.
And now you're good to go!
If you're looking for some Greeting Card inspiration, make sure to check out our guide here.
If you get stuck, please don't hesitate to give us a call on 0800 840 1430 or email theteam@printed.com and we'll be happy to help.
Shop Greeting Cards

About the author
Jack knows everything there is to know about print. With nearly 20 years' experience, he's an expert in everything from print floor processes to product specifications. When he's not flexing his printing knowledge you'll find him looking after his cat, Turnip. No really. That's her actual name.

How to Display Front and Back of Greeting Card
Source: https://www.printed.com/blog/set-up-your-artwork-for-greeting-card-printing/
0 Response to "How to Display Front and Back of Greeting Card"
Post a Comment